Enable Monitoring Center Video Verification
-
Log in to Dealer Admin (dealer.securewireless.com).
-
Go to Customers and select the System Name that is connected to the XV Gateway.
-
In System Information, select Edit at the top of the screen.
-
Scroll down to Video. Toggle Monitoring Center Video Verification ON to enable video verification.
-
Select Save at the top of bottom of the screen.
Delete an XV Gateway
Note: Deleting the XV Gateway deletes all devices connected to it and removes all detection regions, lines, zones, and video actions tied to those devices.
-
Log in to Dealer Admin (dealer.securewireless.com).
-
Go to Customers and select the System Name that is connected to the XV Gateway.
-
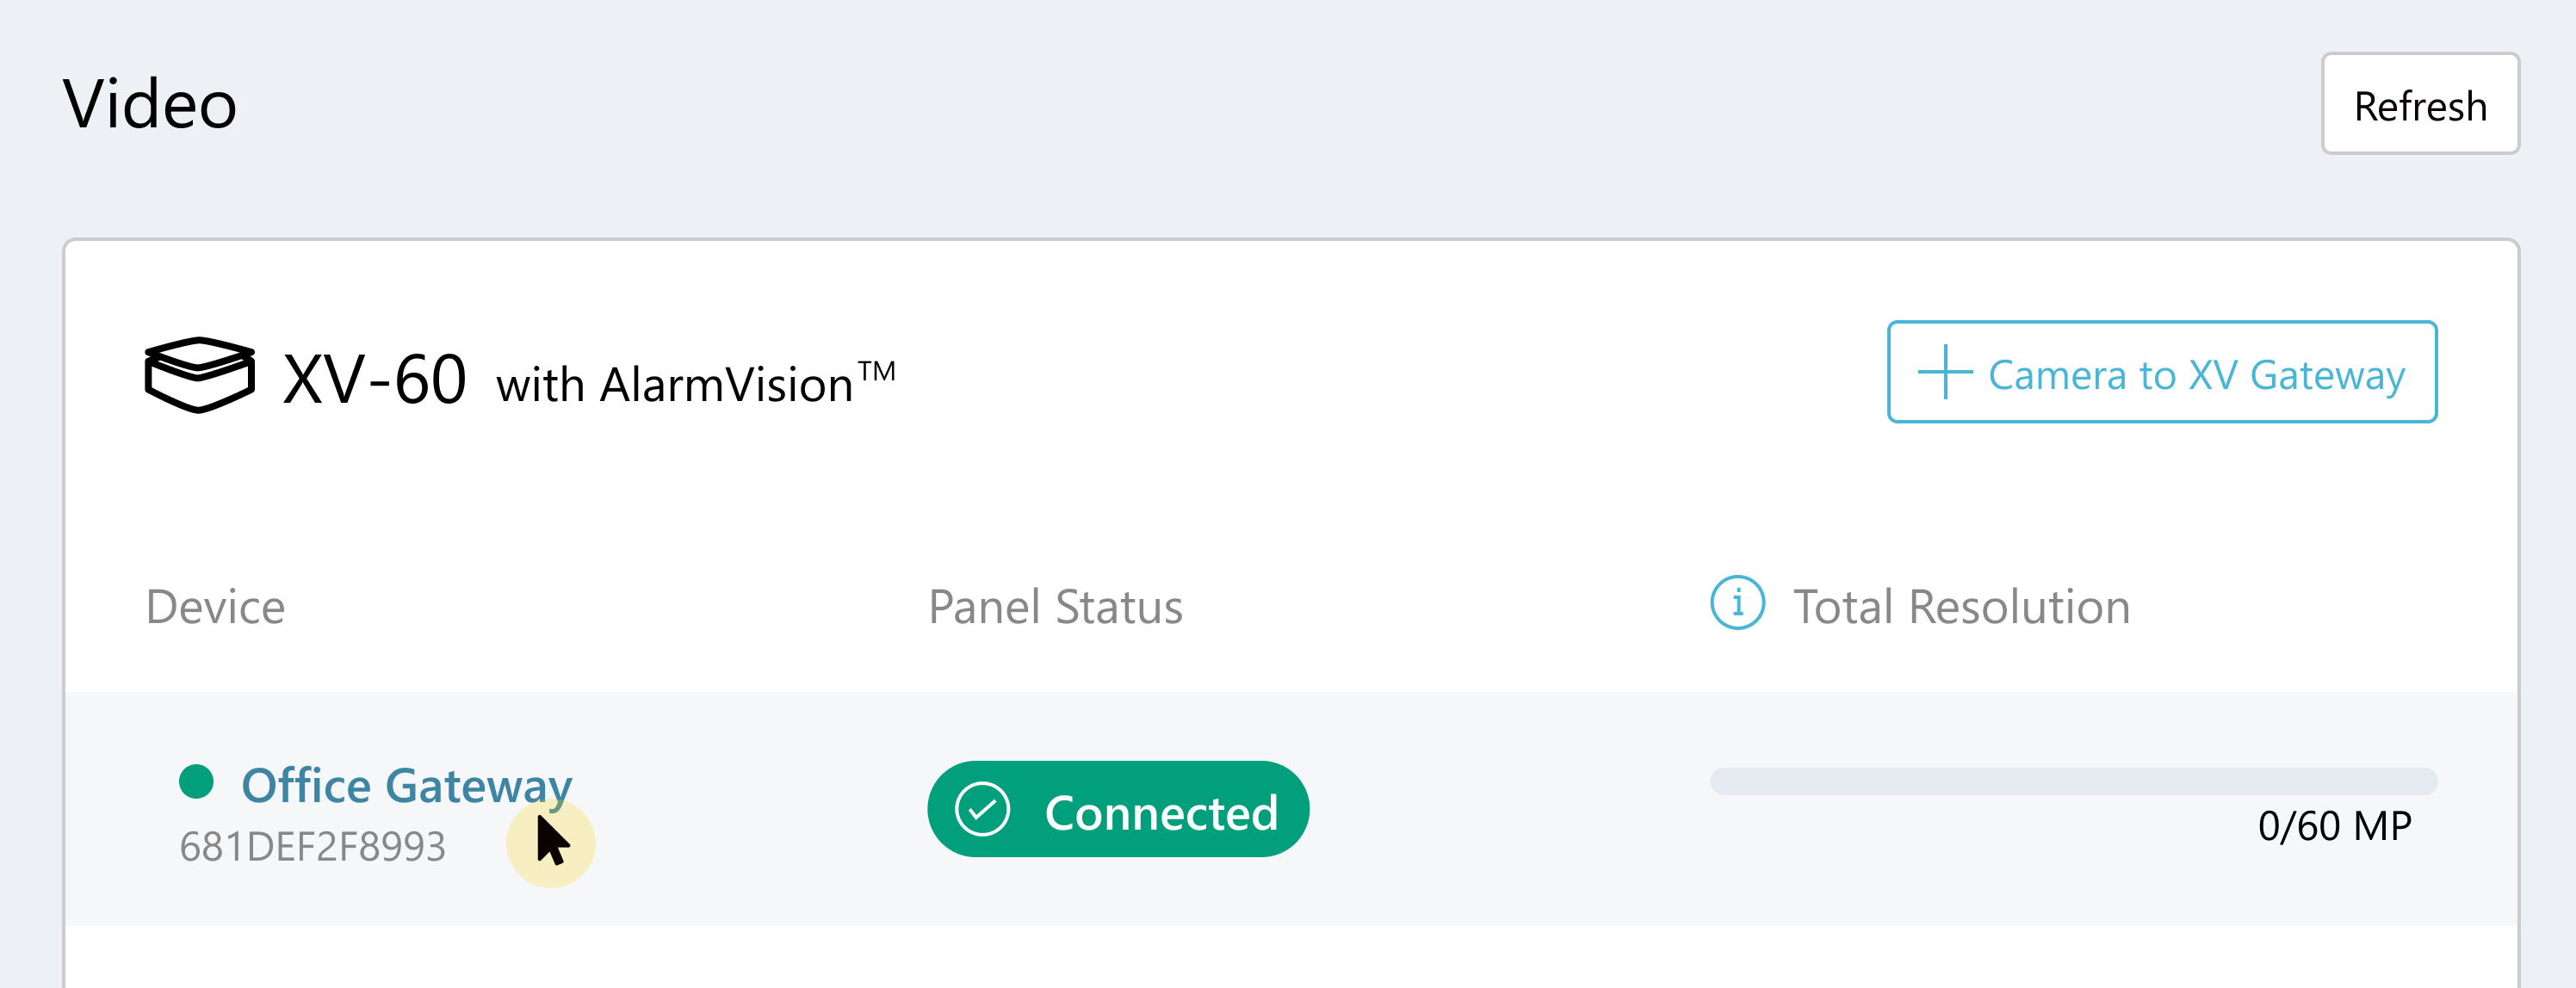
In Video, select the name of the XV Gateway you want to delete.
-
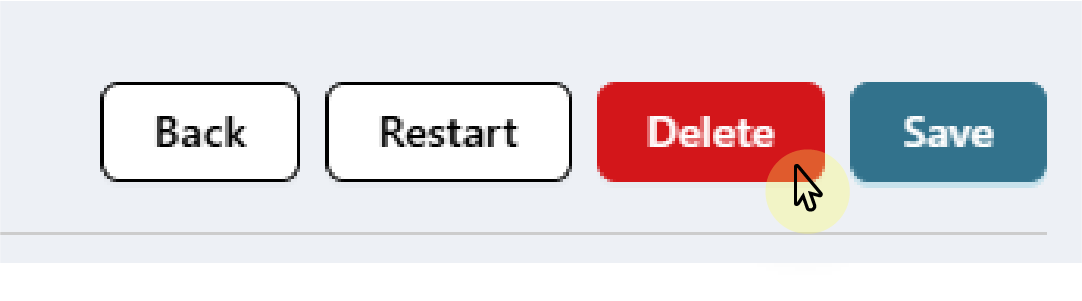
At the top of the screen, select Delete.
-
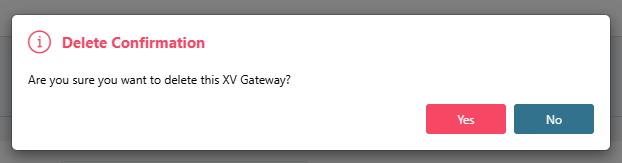
A window displays to confirm your decision. Select Yes to delete the XV Gateway. Select No to cancel.
-
To re-add the XV Gateway to Dealer Admin, refer to for more information.
Hide a Device
This option disables a device and moves it to the Hidden Devices list.
-
Log in to Dealer Admin (dealer.securewireless.com).
-
Go to Customers, then select the System Name that the XV Gateway is connected to.
-
Go to Video, then select + Device to XV Gateway.
-
Locate the device you want to hide. Select the More icon, then select Hide Device. The device appears in Hidden Devices at the bottom of the window.
Unhide a Device
Enabling a hidden device removes it from the Hidden Devices list and re-adds it to the XV Gateway.
-
Log in to Dealer Admin (dealer.securewireless.com).
-
Go to Customers, then select the System Name that the XV Gateway is connected to.
-
Go to Video, then select + Device to XV Gateway.
-
Select Hidden Devices at the bottom of the window.
-
Locate the device you want to unhide. Select the More icon, then select Unhide Device. The device appears in the preview list.
Remove a Device
Note: Removing a device deletes all detection regions, lines, zones, and video actions tied to the device.
If you made changes to your device network, this option disables and removes the original auto-discovered device from Dealer Admin. Any devices on the same subnet as the XV Gateway are automatically discovered and added to the device list.
-
Log in to Dealer Admin (dealer.securewireless.com).
-
Go to Customers, then select the System Name that the XV Gateway is connected to.
-
Go to Video, then select + Device to XV Gateway.
-
Locate the device you want to delete. Select the More icon, then select Delete Device.
Disable a Device
To disable a camera, navigate to System Information for the selected system.
-
Log in to Dealer Admin (dealer.securewireless.com).
-
Go to Customers, then select the System Name that the XV Gateway is connected to.
-
Go to Video, then select the device you want to disable.
-
Select Disable in the top right corner to remove the device from the XV Gateway.
Note: Disabling a device deletes all detection regions, lines, zones, and video actions tied to the device.
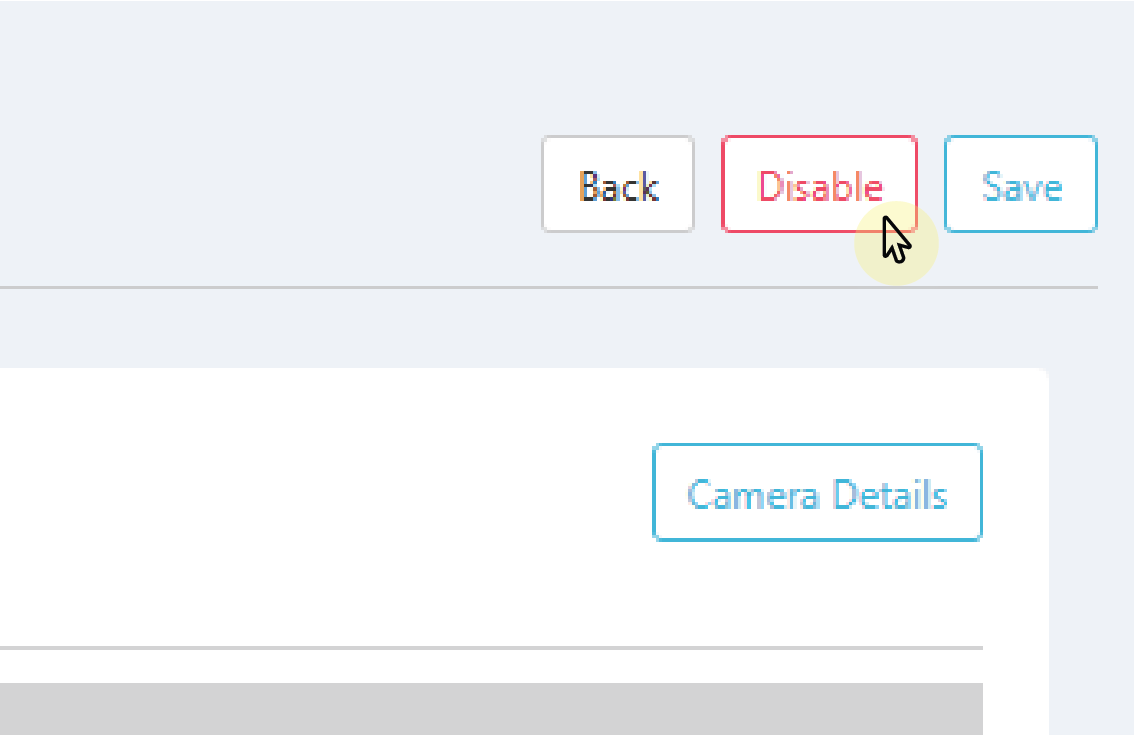
-
Select Save. The device is removed from the XV Gateway with AlarmVision® section.
Update the Device Password
If a user has changed the device password, the XV Gateway requires the updated password to access audio, video, or both. This option sends the device password to the XV Gateway and restores audio, video, or both.
Note: This does not change the device’s password; it only re-sends the device’s password to the XV Gateway to restore audio or video when the device’s password has been changed.
-
Log in to Dealer Admin (dealer.securewireless.com).
-
Go to Customers, then select the System Name that the XV Gateway is connected to.
-
Go to Video, then select + Device to XV Gateway.
-
Locate the device that requires an updated password. Select the More icon, then select Update Password. Device functionality is restored.
Edit a Zone
-
Log in to Dealer Admin (dealer.securewireless.com).
-
Go to Customers and select the System Name.
-
Go to Programming for the selected system.
-
Go to Zone Information and locate the zone that needs to be edited.
-
At Zone Type, select the drop-down to view the zone types that can be assigned.
.png?cb=cdeed19be3957c51d01074207cefc2ce)
-
At Zone Actions, select the drop-down to view the outputs that can be assigned.
.png?cb=6685b742761fb640400740ed4455cdd0)
-
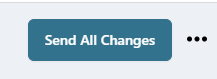
When done editing, select Send All Changes at the top of the screen to save the changes and send them to the panel.