Configure Camera Options
-
Log in to Dealer Admin (dealer.securecomwireless.com)
-
Go to Customers, then select the System Name that the XV Gateway and camera are connected to.
-
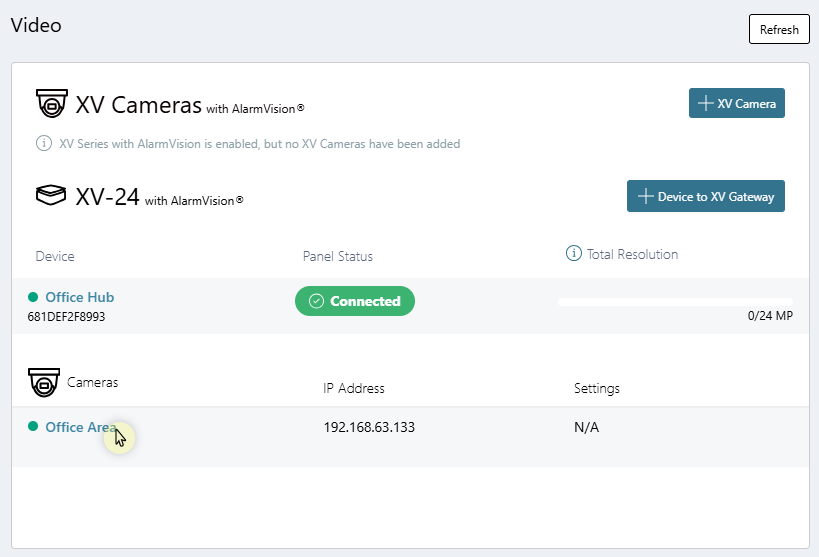
At Video, select the camera.
-
Enter a Camera Name and Camera Description for the camera.

-
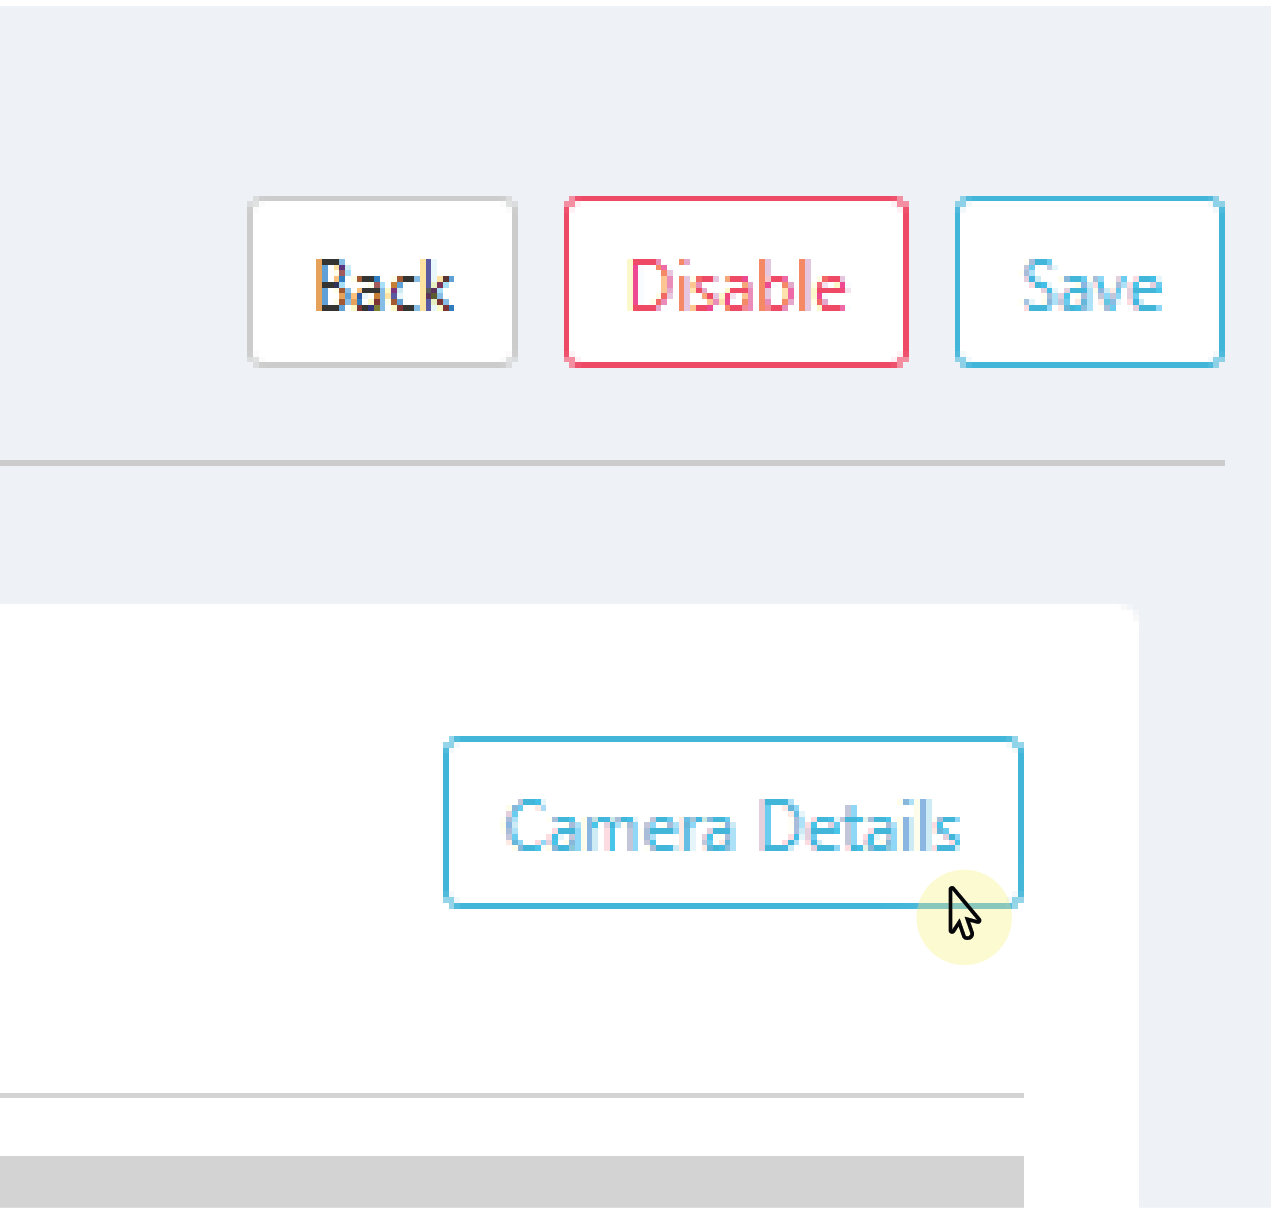
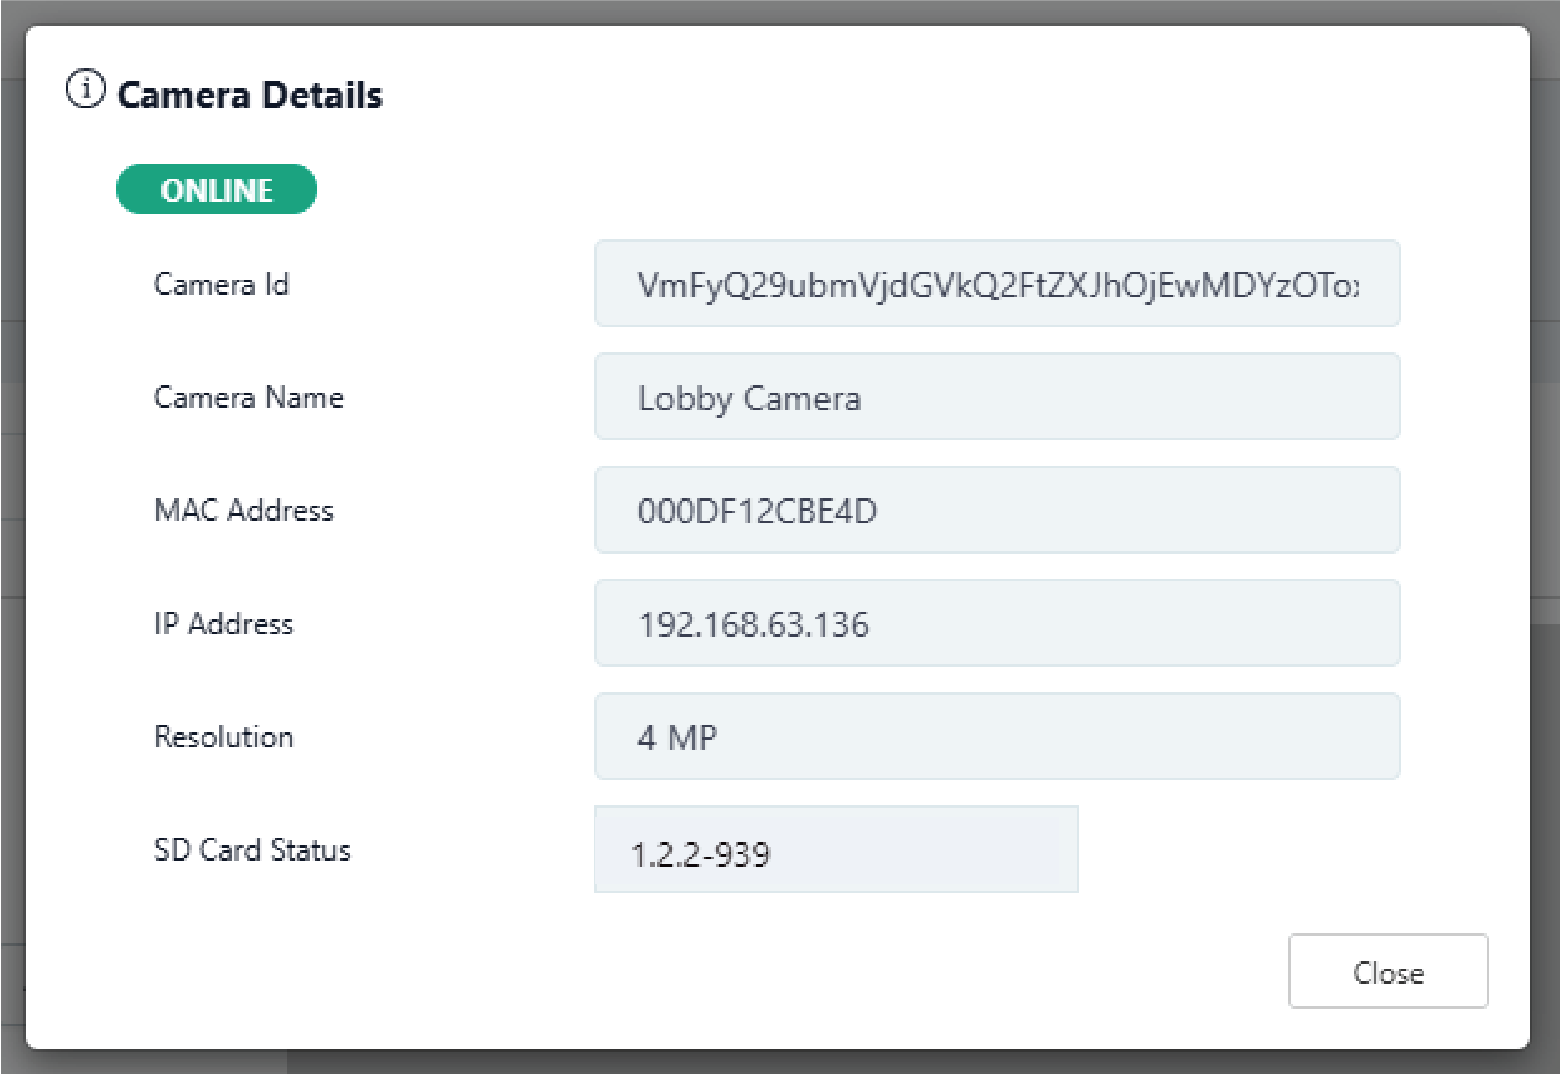
At the top right corner of the screen, select Camera Details to view the following camera information:
-
Camera Id
-
Camera Name
-
MAC Address
-
IP Address
-
Resolution
-
SD Card Status
-
-
Select Close.
-
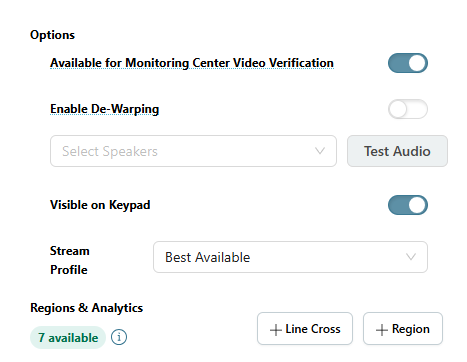
At Options, configure the following features:
-
Ensure Available for Monitoring Center Video Verification is toggled ON to enable the camera feed for Monitoring Center Video Verification.
-
Toggle Enable De-Warping ON to allow Virtual Keypad to de-warp a fisheye camera lens.
-
If you have added a speaker to the XV Gateway, select it from the Select Speakers dropdown menu. Select Test Audio to verify the speaker's audio. Refer to Setup Two-Way Audio for more information.
-
Visible on Keypad is toggled ON by default to enable the camera view to display on an
8860 7-inch Touchscreen Keypad. This option only displays if an 8860 has been added to your system. Refer to the 8860 Installation and Programming Guide for more information. -
In the Stream Profile dropdown menu, select the best available stream from any ONVIF camera added to the XV Gateway.
-
Note: If Monitoring Center Video Verification does not display, ensure this feature is enabled for your system. For more information, refer to Enable Monitoring Center Video Verification.
-
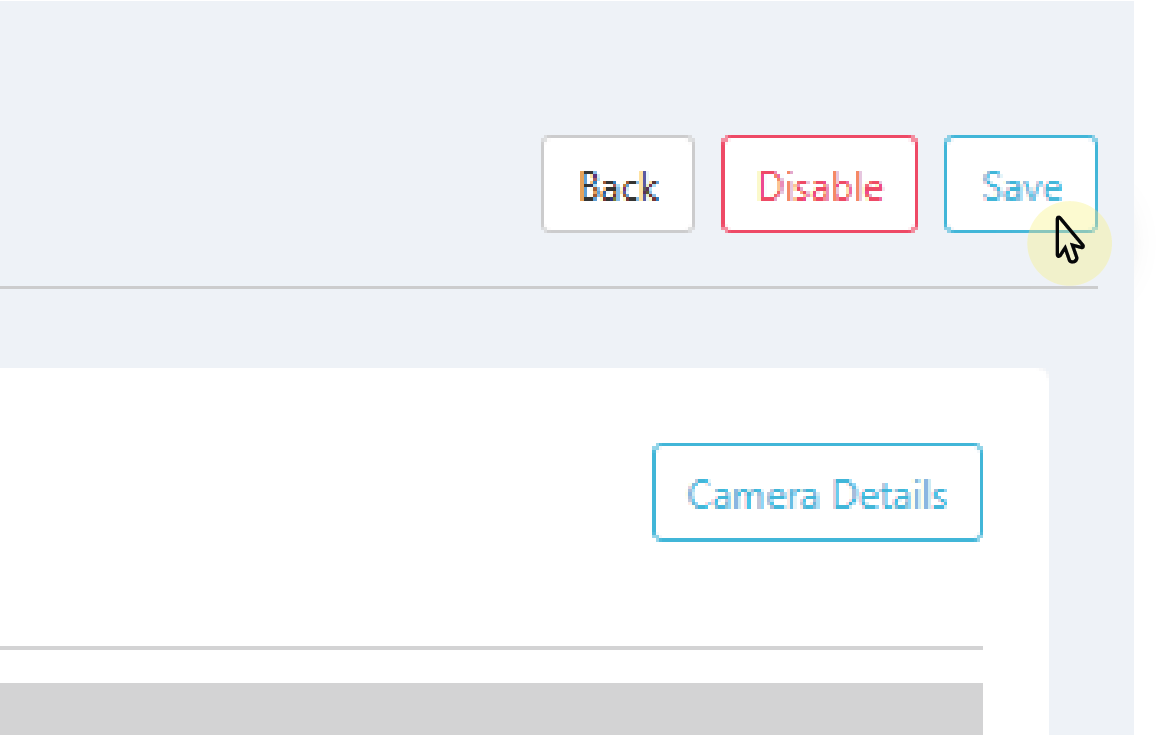
Select Save in the top right corner to apply any edits to the camera or refer to Add Regions & Analytics to create detection regions or lines for the camera.
Rename Audio Device
To rename the audio device, complete the following steps:
-
Log in to Dealer Admin (dealer.securecomwireless.com)
-
Go to Customers, then select the System Name that the XV Gateway is associated with.
-
At Video, select the audio device you want to rename.
-
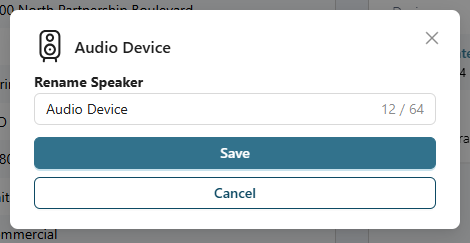
A window displays to rename the audio device. Enter the new name, then select Save.